Styling a Quick and Easy DIY Thanksgiving
/I love a beautifully set table. I do.
It doesn't have to be fancy or elegant, although it could be. My preference is for fun and welcoming. Here are some examples of Thanksgiving tables that I've done in the past here, here, and here.
Today I want to share how I went about styling my Thanksgiving tables last year. So, buckle in and welcome to my creative process! I was so pleased with how everything turned out that I may just have to trademark some of these elements. (Okay, not really. But a girl can dream...)
First of all, I have to tell you that I pretty much hate decorating with turkeys. Now you know. Turkeys don't make me happy. At all. And even though sometimes I love cheesy stuff, I have to tell you that I draw the line with turkeys as decorative items. Unless, of course, it's a vintage thing, or they're used ironically. Now you know.
Last year we were on a time crunch. It felt like November had gotten away from us completely. Or maybe that happens to me every year. (No way! Is it the 12th already? Wait, what?) Or maybe I truly do like the pressure of the last minute hustle? Probably. But that's a therapy session blog post for another day.
Back to Thanksgiving...
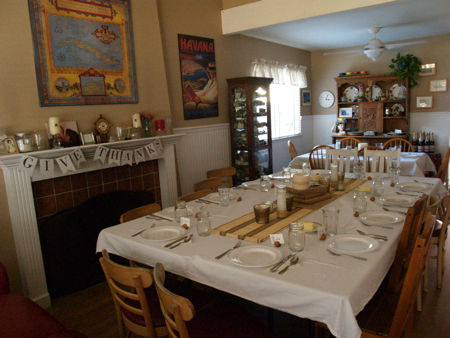
I found myself 2 days before that moment when I was going to be hosting 28 people in my freakishly small cottage-like home for Thanksgiving dinner and nothing planned, except for the food, of course, which is technically the same every year, which makes it a no-brainer and therefore not a part of today's story.
So I did what anyone else would have done in my shoes... I procrastinated. I surfed the web. Before you judge, just know that this is when I found my salvation in Tomkat Studio free downloadable Thanksgiving Printables. I was so inspired.
{Disclaimer: Tomkat is not sponsoring this post or paying me in any way to promote them. I was just truly inspired and I wanted to share how I put together their designs with my own.}
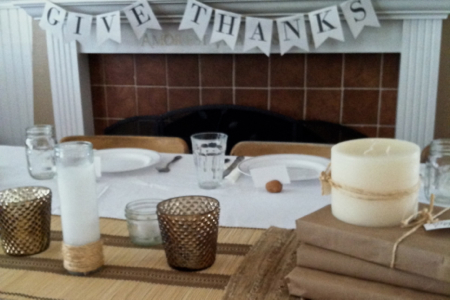
I downloaded the banner letters and stapled them over a string of sturdy twine. Yes, stapled. I know. In design world we call that "quick and dirty." (Don't judge). Everyone thought it was adorable and you couldn't even see the staples, so I'm calling that a win.
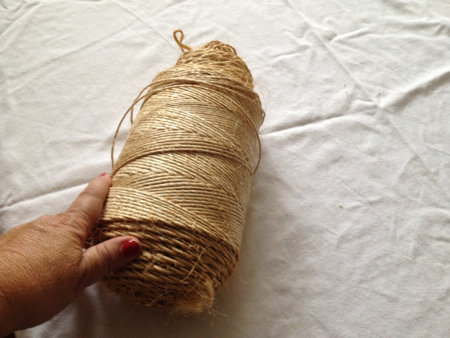
Let's talk about the twine for a moment. Somehow, somewhere, we got a giant spool of this stuff. We have used it for years and years in all kinds of projects and plays and there's still miles more. Seriously this spool thingy is like the size of a football. It's like the loaves and fishes of twine. There's always plenty and it never, ever runs out. Which is a big plus because I'm a banner-making fool.
Check out my banner-love (with my Never-ending Twine, of course) here and here and here.
Twine for all occasions!
Behold the Never-Ending Twine of the Darbys®.
Also, we got those tall votive-type candles at the local Mexican mercado. The ones that are used for "santos" and altars, but with no colorful saint on them. They're just plain, unscented candles in a jar. Also, I found them at Target (plus they're really cheap) recently, so there you go.
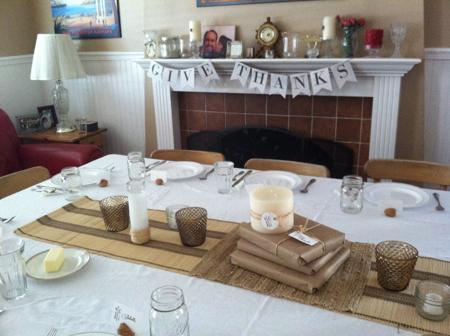
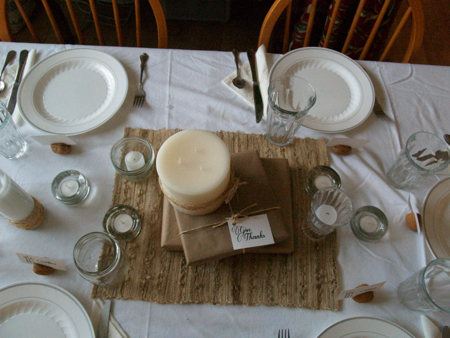
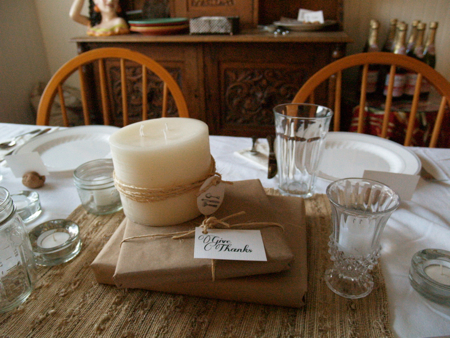
We (when I say "we," I mean Lucy) wrapped the twine around the bottom of the pillar candles to dress them up a bit. We (when I say "we," I mean all of us) were delighted with the effect.
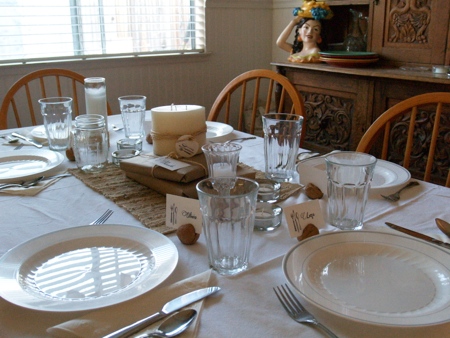
We found some big, fat candles at Target and wrapped some of the Never-ending Twine around them and attached a tag.
I made some tags that said "Give Thanks," which I printed on a nice light cream linen paper with my inkjet printer. I wanted a little bit of height on the table for the candle centerpiece so I wrapped up some of my cookbooks, which were different and interesting sizes, in brown wrapping paper. I know it sounds a little lazy, but the effect was quite simple and lovely, I think.
The candles, I felt would add a touch of elegance and warmth to the room.
I have a lot of glass candle holders and little mason jars and that sort of thing, because we always have parties, so we brought out everything glass we could find and I put tealight candles in everything and threw it all together.
The white table cloth and the burlap runners helped to anchor everything into a pleasing neutral palet. The burlap and twine kept it rustic. The fancy typeface on the tags added an old world look.
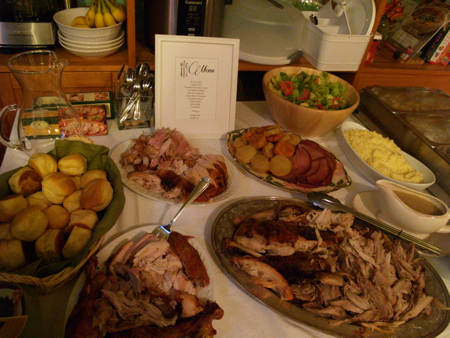
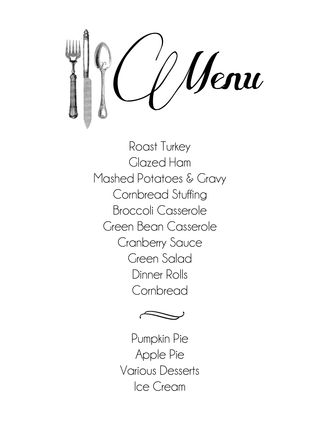
I printed out the menu on the same cream linen and put it into a white frame with a fat white mat on the food table.
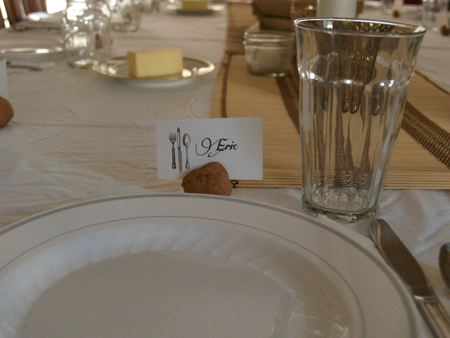
My most favorite detail of all was the walnut placecard holders. I had Eric drill a slice into the walnuts. The trick is not to cut where they naturally open. You set the walnut down and let it "tell" you where it wants to sit. (I find this trick works well with teenagers, too, but that's not important right now.)
The placecards were different and cute without being obtrusive. I was quite delighted by the whole thing.
Feel free to steal borrow any of these Thanksgiving decorating ideas. Here are the links for the stuff I used...
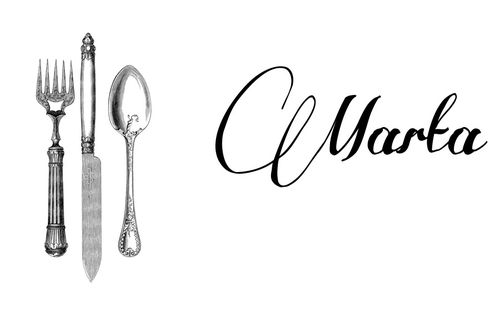
The font I used is called Some Weatz and you can download it for free from dafont.com.
The old-school cutlery graphic is from The Graphics Fairy.
I'm happy to report that our quick and dirty easy DIY Thanksgiving decorations were a huge hit. Now I'm much more inspired to start the design process earlier. No way! Is it the 12th already? Wait, what? *sigh*
