
Dulce de Leche Cheesecake Recipe
/Going Old School
It’s November, people.
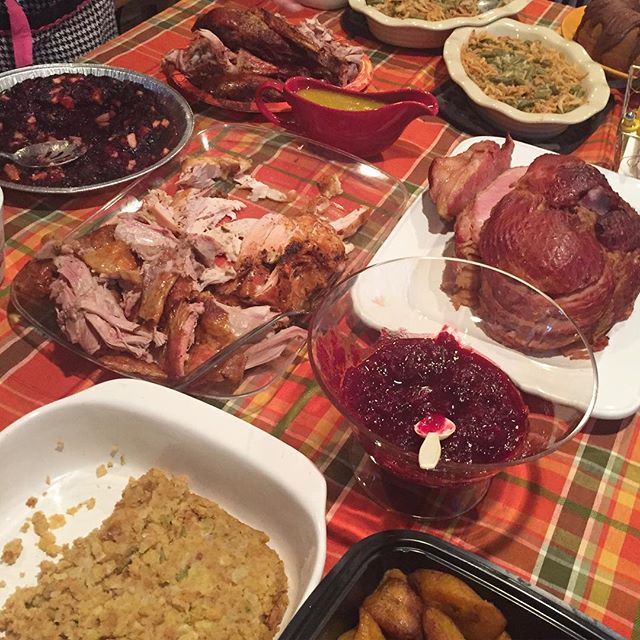
Of course you know what that means: It’s time for the holiday "comelatas" to begin.
At our house the main course menus don’t vary much from year to year. But then there are the desserts.
Ah, yes. Desserts. Plural.
I don’t know of a Cuban anywhere who doesn’t love something sweet with their after-dinner cafécito.
But which dessert? There are so many to choose from!
There are dozens of classic “old school” desserts, like flan, pudin de pan, natilla, cascos de guayaba con queso crema, not to mention our classic pastelitos.
But I decided to try something new with an “old school” flavor.
This week’s recipe is a two-step affair. First we’re going to make Dulce de Leche.
Then we’re going to put it into a cheesecake.
It’s incredibly easy, but it looks really impressive and it tastes even better.
Okay. I admit it. I get a little stressed around this time of year.
But you know what they say:
“Stressed is just DESSERTS spelled backwards.”

Dulce de Leche Cheesecake Recipe
Homemade Dulce de Leche:
- 2 cans of sweetened condensed milk

Crockpot method:
- Remove the labels.
- Place the still sealed cans in a crockpot.
- Cover the cans with water so they are completely immersed.
- Cook on high for 5 hours.
- Remove from the crockpot and let them cool completely.
Here's a video to show you how:
Pressure cooker method:
- Remove the labels.
- Place the still sealed cans in a pressure cooker.
- Cover the cans with water.
- Cook on high pressure for 40 minutes.
- Let the pressure drop on it's own for about 15 minutes. Remove. Let the cans cool completely.
For the Crust:
(you can also use a ready-made graham cracker crust if desired)
- 1 cup graham cracker crumbs
- 3 tbsp. butter, melted
Filling:
- 3 (8 oz.) packages cream cheese, softened
- 1 cup sugar
- 2 tbsp. all-purpose flour
- 2 tsp. vanilla extract
- 3 eggs
- 1/3 cup whole milk
- 1 can Homemade Dulce de Leche
Reserve about 1/3 can of Dulce de Leche to drizzle over finished cheesecake.
Instructions:
1) Preheat oven to 400°
2) Mix crust ingredients together, and press into the bottom of a lightly buttered 9-inch springform pan. Place pan on a baking sheet and bake for 10 minutes. Remove from oven and cool to room temperature.
3) Reset oven temperature to 325°
4) With an electric mixer beat cream cheese, sugar and flour together until well mixed and smooth.
5) Add vanilla and beat until smooth. Add eggs one at a time, beating well after each addition. Beat until smooth. Add milk and mix until well blended.
6) In a smaller bowl, stir up the Dulce de Leche quickly to soften up. Measure about 1/2 cup of the cheesecake batter and pour into the softened Dulce de Leche. Stir until well combined.

7) Pour plain batter over crust. Top with Dulce de Leche batter by placing rounded spoonfuls over the cheesecake batter and gently swirl into plain batter with the tip of knife or spatula.

8) Bake in preheated 325°F oven for one hour or until center is almost set.
9) Remove from oven and gently run metal spatula around rim of pan to loosen cheesecake (this helps prevent cracking). Release the springform pan. Let cool 20-25 minutes before covering and placing in the refrigerator. Refrigerate 4 to 6 hours or overnight before serving.
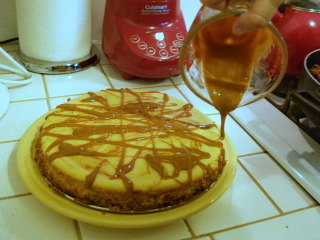
10) Stir the reserved Dulce de Leche quickly to soften and drizzle over finished cheesecake.
(NOTE: you can heat the Dulce de Leche slightly if it’s not soft enough, but don’t OVERcook it!)
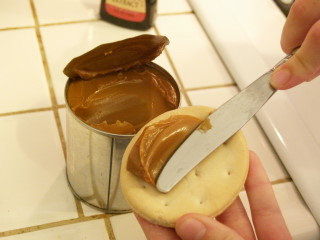
Oh WAIT! I told you to cook two cans, didn’t I?
Here’s what you do with the second one:
You grab a knife and some galletas and you go “old school.”
Buen Provecho!
// <![CDATA[ var pfHeaderImgUrl = '';var pfHeaderTagline = '';var pfdisableClickToDel = 0;var pfHideImages = 0;var pfImageDisplayStyle = 'right';var pfDisablePDF = 0;var pfDisableEmail = 0;var pfDisablePrint = 0;var pfCustomCSS = '';var pfBtVersion='1';(function(){var js, pf;pf = document.createElement('script');pf.type = 'text/javascript';if('https:' == document.location.protocol){js='https://pf-cdn.printfriendly.com/ssl/main.js'}else{js='http://cdn.printfriendly.com/printfriendly.js'}pf.src=js;document.getElementsByTagName('head')[0].appendChild(pf)})(); // ]]</p></div>